Databases | Practical class 1
PostgreSQL Introduction
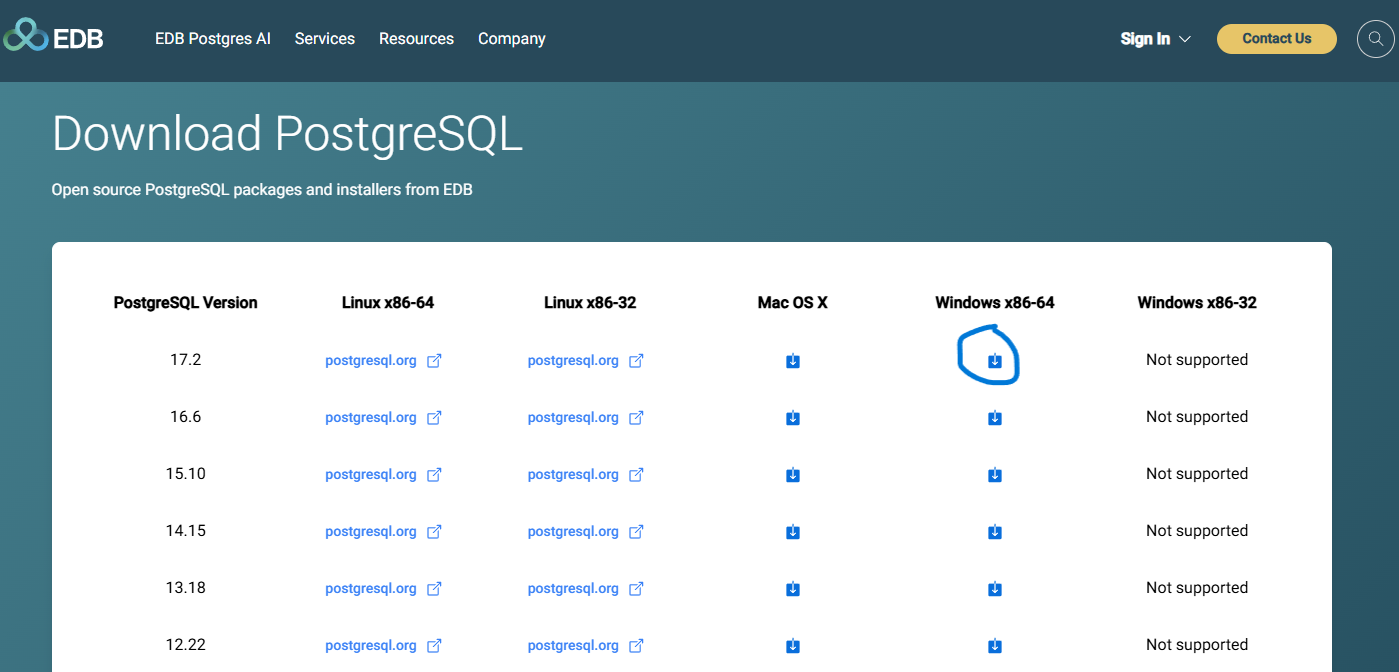
Download and Install PostgreSQL
To install PostgreSQL locally on your computer, visit the installer by EDB, and download the newest version compatible with your operating system.
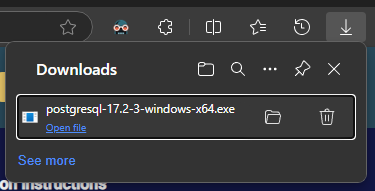
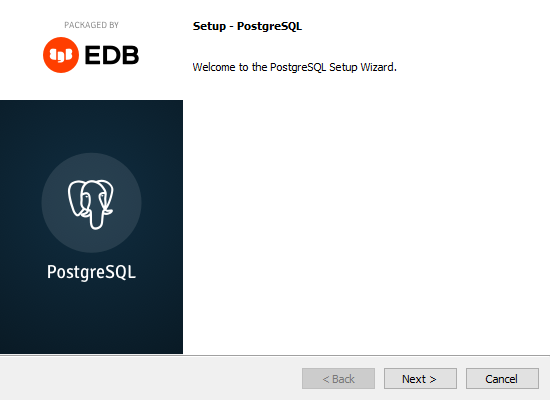
Start the Install
When the downloading is complete, double click the downloaded file and start the installation:
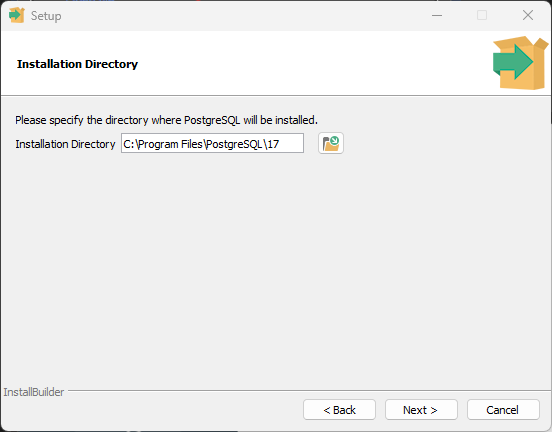
Specify Directory
You can specify the location of PostgreSQL, I will go with the default choice:
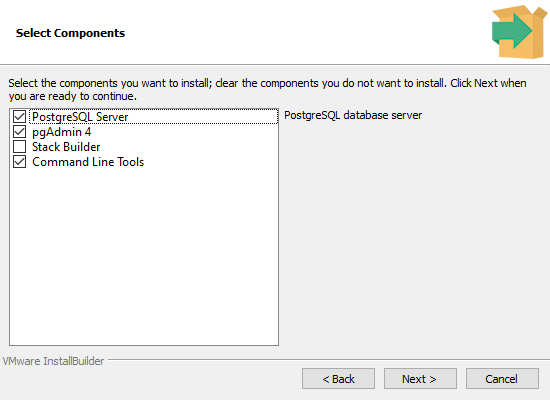
Select Components
To use PostgreSQL, you will need to install the PostgreSQL Server. In this tutorial we will also use the pgAdmin 4 component, and the Command Line Tools:
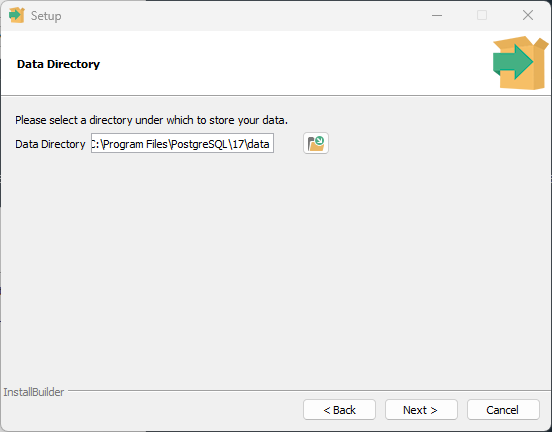
Storage Directory
You can also choose where to store the database data, I will go with the default choice:
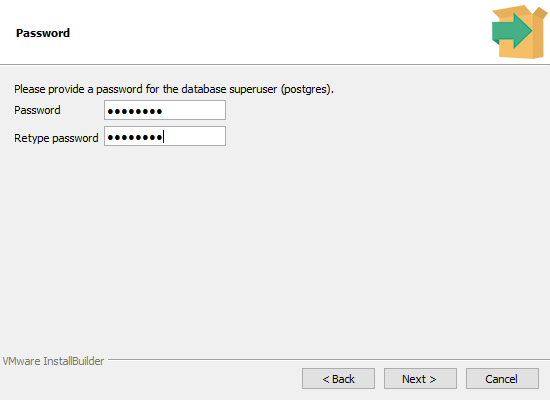
Select Password
You will have to select a password to get access to the database. Since this is a local database, with no incoming connection, I will choose the password 12345678:
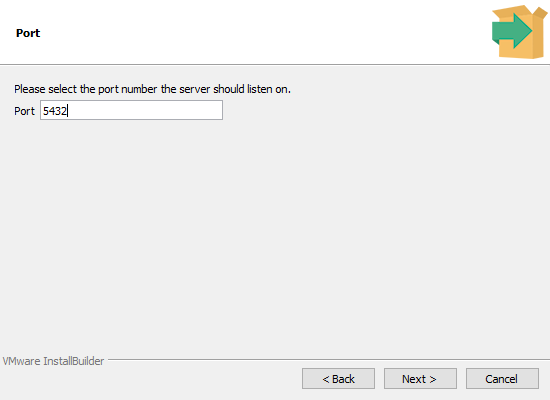
Select Port
You can set the port the server should listen on, I will go with the default choice:
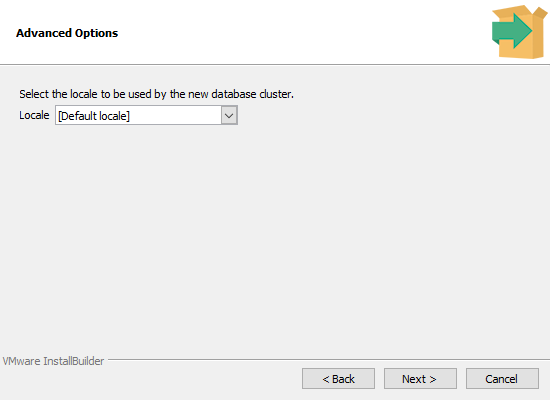
Select Locale
Select the geographically location of the database server:
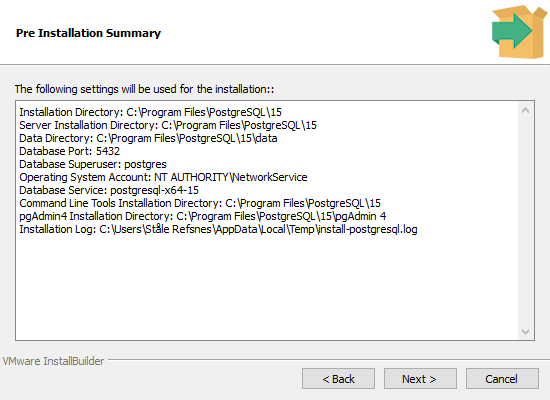
Final Check
If everything looks OK, click ‘Next’ to continue:
Start Installation:
Click ‘Next’ to start the installation:

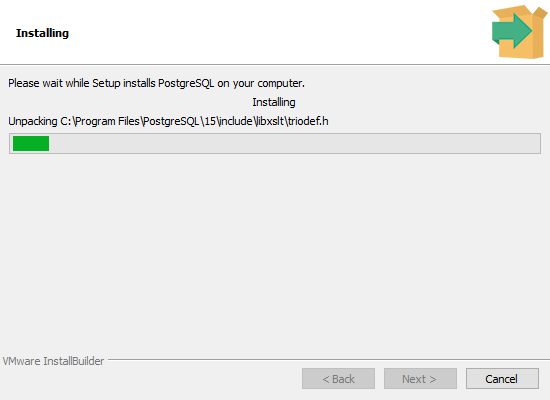
Installing
This can take a while, please wait.
Complete!
Now you have installed PostgreSQL on your computer, and in the next chapter you will start using it!

Connect to the Database
SQL Shell (psql)
SQL Shell (psql) is a terminal based program where you can write and execute SQL syntax in the command-line terminal.
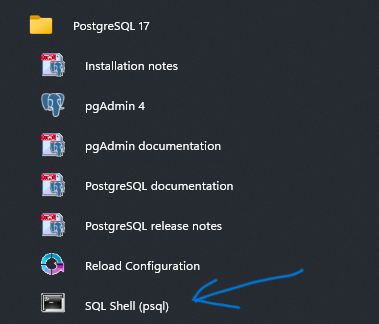
Open SQL Shell (psql)
You will find the SQL Shell (psql) tool in the start menu under PostgreSQL:
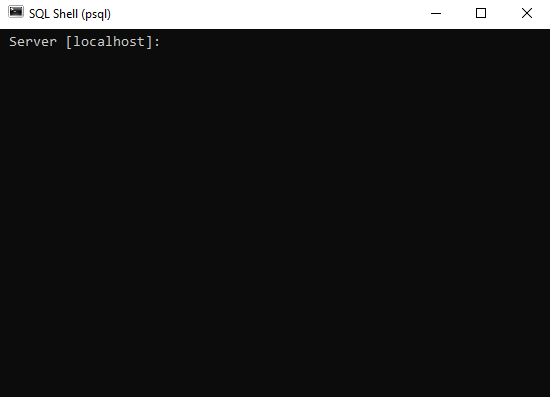
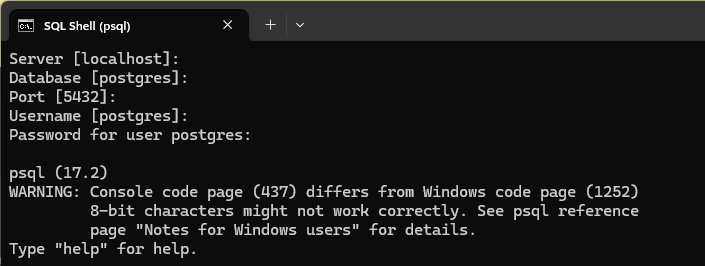
Once the program is open, you should see a window like the one below.
Insert the name of the server.
The suggested choice is localhost, which is correct, press Enter to accept:
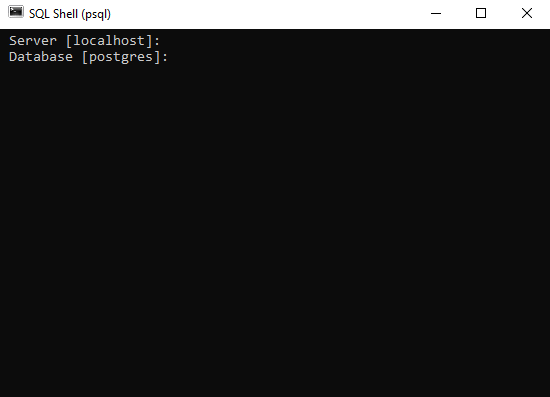
Database
The suggested database is postgres, which is correct, press Enter to accept:
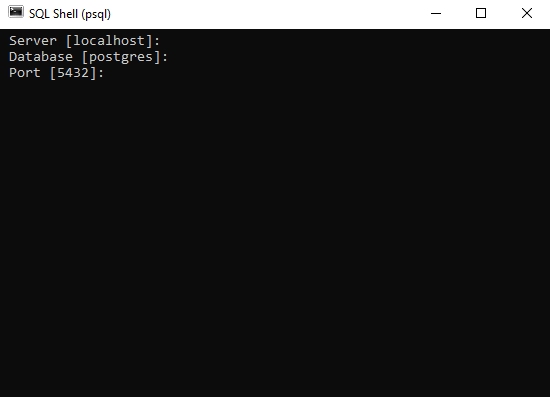
Port
The suggested port is 5432, which is correct, at least in my case, press Enter to accept:
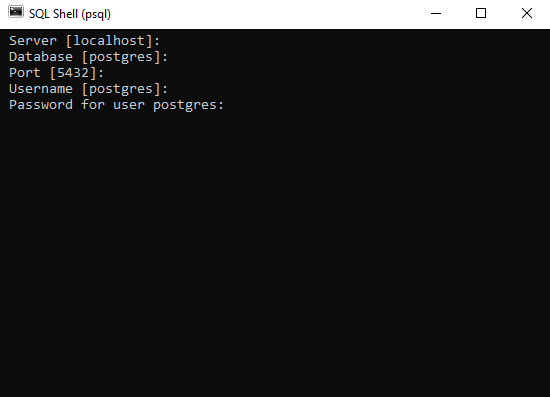
Username
The suggested username is postgres, which is correct, press Enter to accept:

Password
Enter the password you chose when you installed the PostgreSQL database, my password is 12345678:
Result
The result might look like an error, but if it shows psql (17.2) or any other version, and in the end you see the postgres=# command (and maybe a warning in between), then you have successfully connected to the database!
Execute SQL Statements
Once you have connected to the database, you can start executing SQL statements.
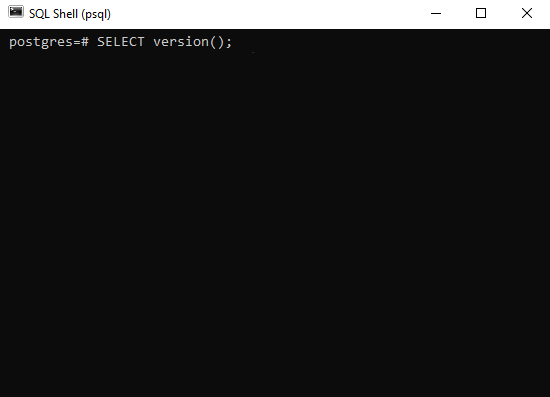
Our database is empty, so we cannot query any tables yet, but we can check the version with this SQL statement:
SELECT version();
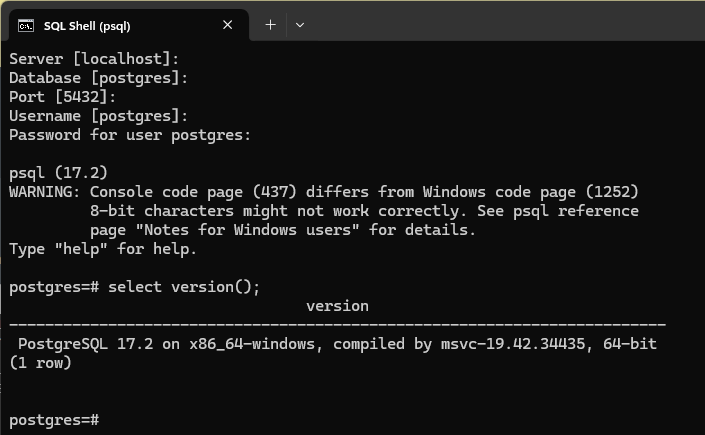
To insert SQL statements in the SQL Shell command, just write them after the postgres=# command like this:
Press Enter and the result should look like this:
Remember the Semicolon
Always end SQL statements with a semicolon
;
pgAdmin4
Start pgAdmin4
You will find the pgAdmin4 application in the start menu under PostgreSQL:

pgAdmin4
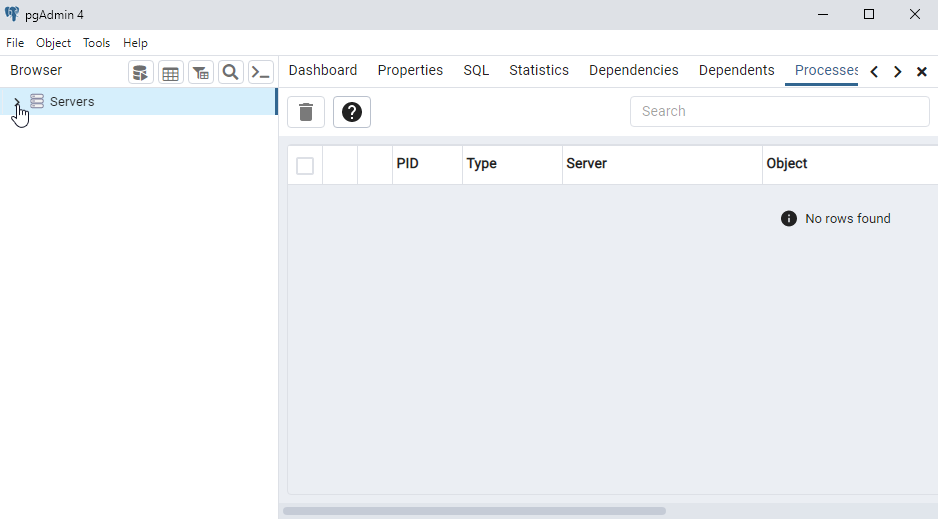
Start by opening the Servers option in the menu on the left:
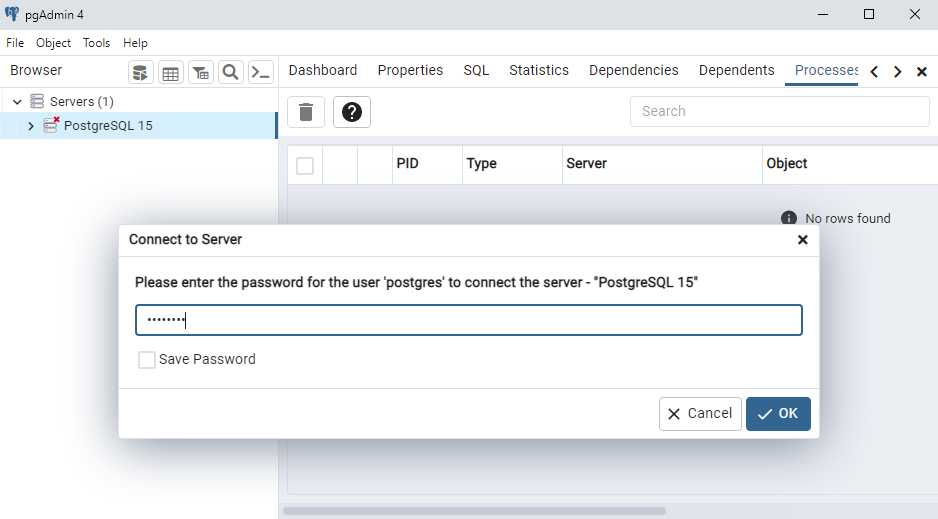
Connect to Server
Now you need to enter the password that you created when you installed PostgreSQL, my password is 12345678:
Find Database
Click on the Database option on in the menu on the left:

Open Query Tool
You should find a database named postgres, right-click it choose the “Query Tool”:

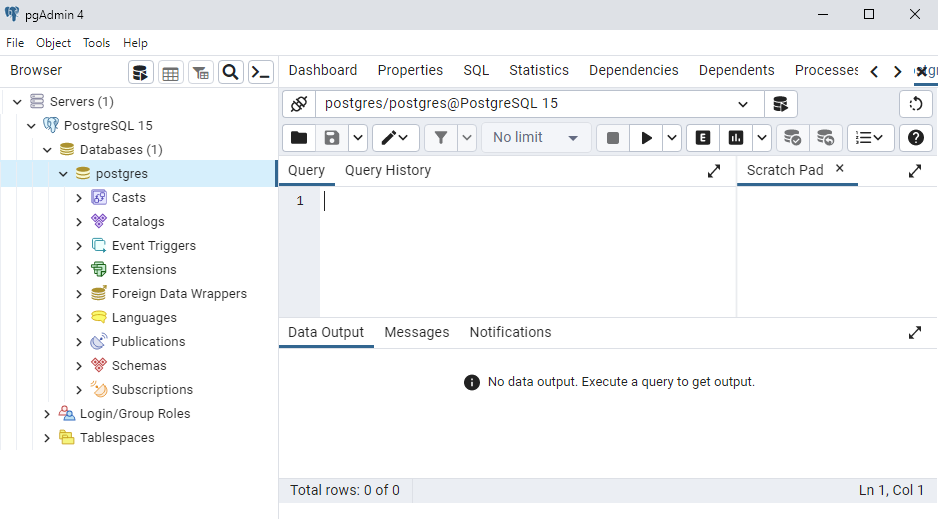
Query Tool
In the Query Tool we can start executing SQL statements.
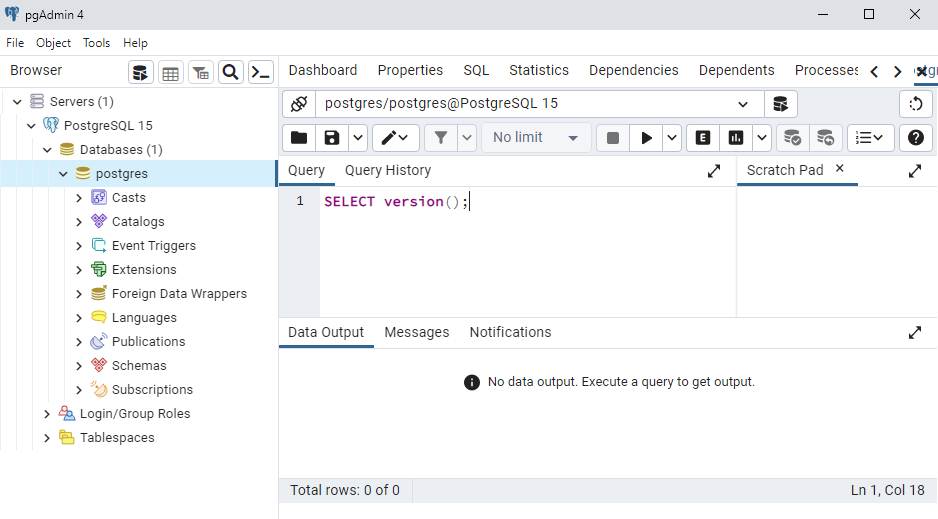
Write SQL Statements
Our database is empty, so we cannot query any tables yet, but we can check the version with this SQL statement:
SELECT version();
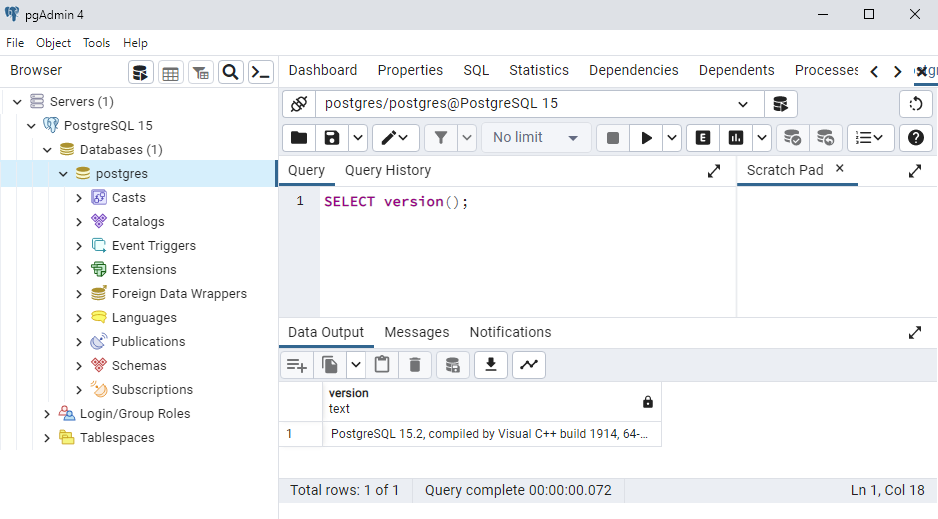
To insert SQL statements in the Query Tool, just write in the input box like this:
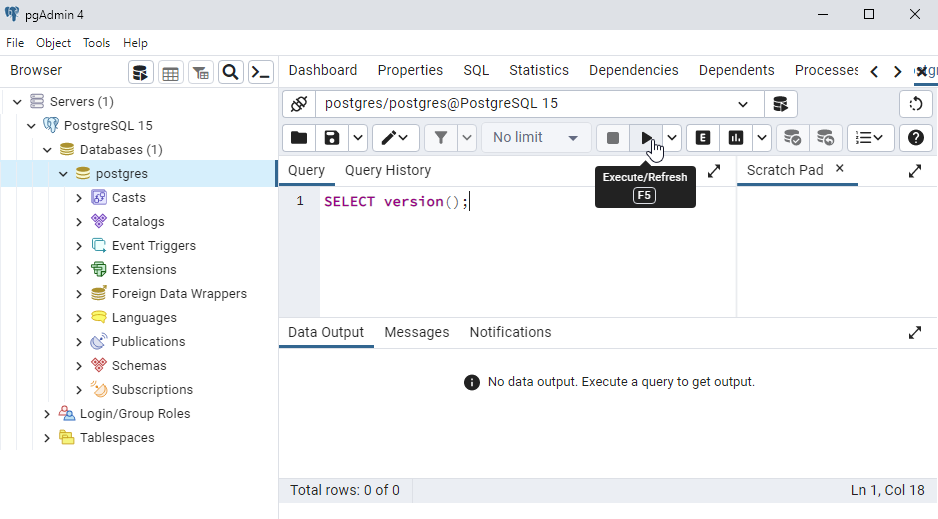
Execute SQL Statements
To execute a SQL statement, click the “Play” button above the input box:
Result
The SQL statement is executed, and you can see the result in the “Data Output” area:
Now we have learned two ways of connection to a database and execute SQL statements on it:
- SQL Shell (psql)
- pgAdmin 4